페르소나 3 리로드에서 댄싱 비스트 휠을 물리치기
이 전투들을 잘 해내고 있어.
페르소나 3 리로드의 댄싱 비스트 휠을 이기는 방법.
페르소나 3 리로드의 강력한 댄싱 비스트 휠에 도전할 준비가 되었습니까? 이 강력한 보스는 높은 공격 스탯, 치명적인 기술 능력, 얼음과 빛에 대한 저항력으로 알려져 있습니다. 하지만 두렵지 마십시오! 적절한 팀 빌딩 전략과 전술적 능력을 사용하면 승리할 수 있습니다. 이 가이드에서는 댄싱 비스트 휠을 상대하는 방법을 보여드리고 주인공을 모든 물리 피해에 면역시키는 방법도 알려드립니다. 그러니 당신의 페르소나를 가져오고 승리를 향해 춤추는 준비를 하세요!
빠른 링크
댄싱 비스트 휠 친밀도 및 스킬

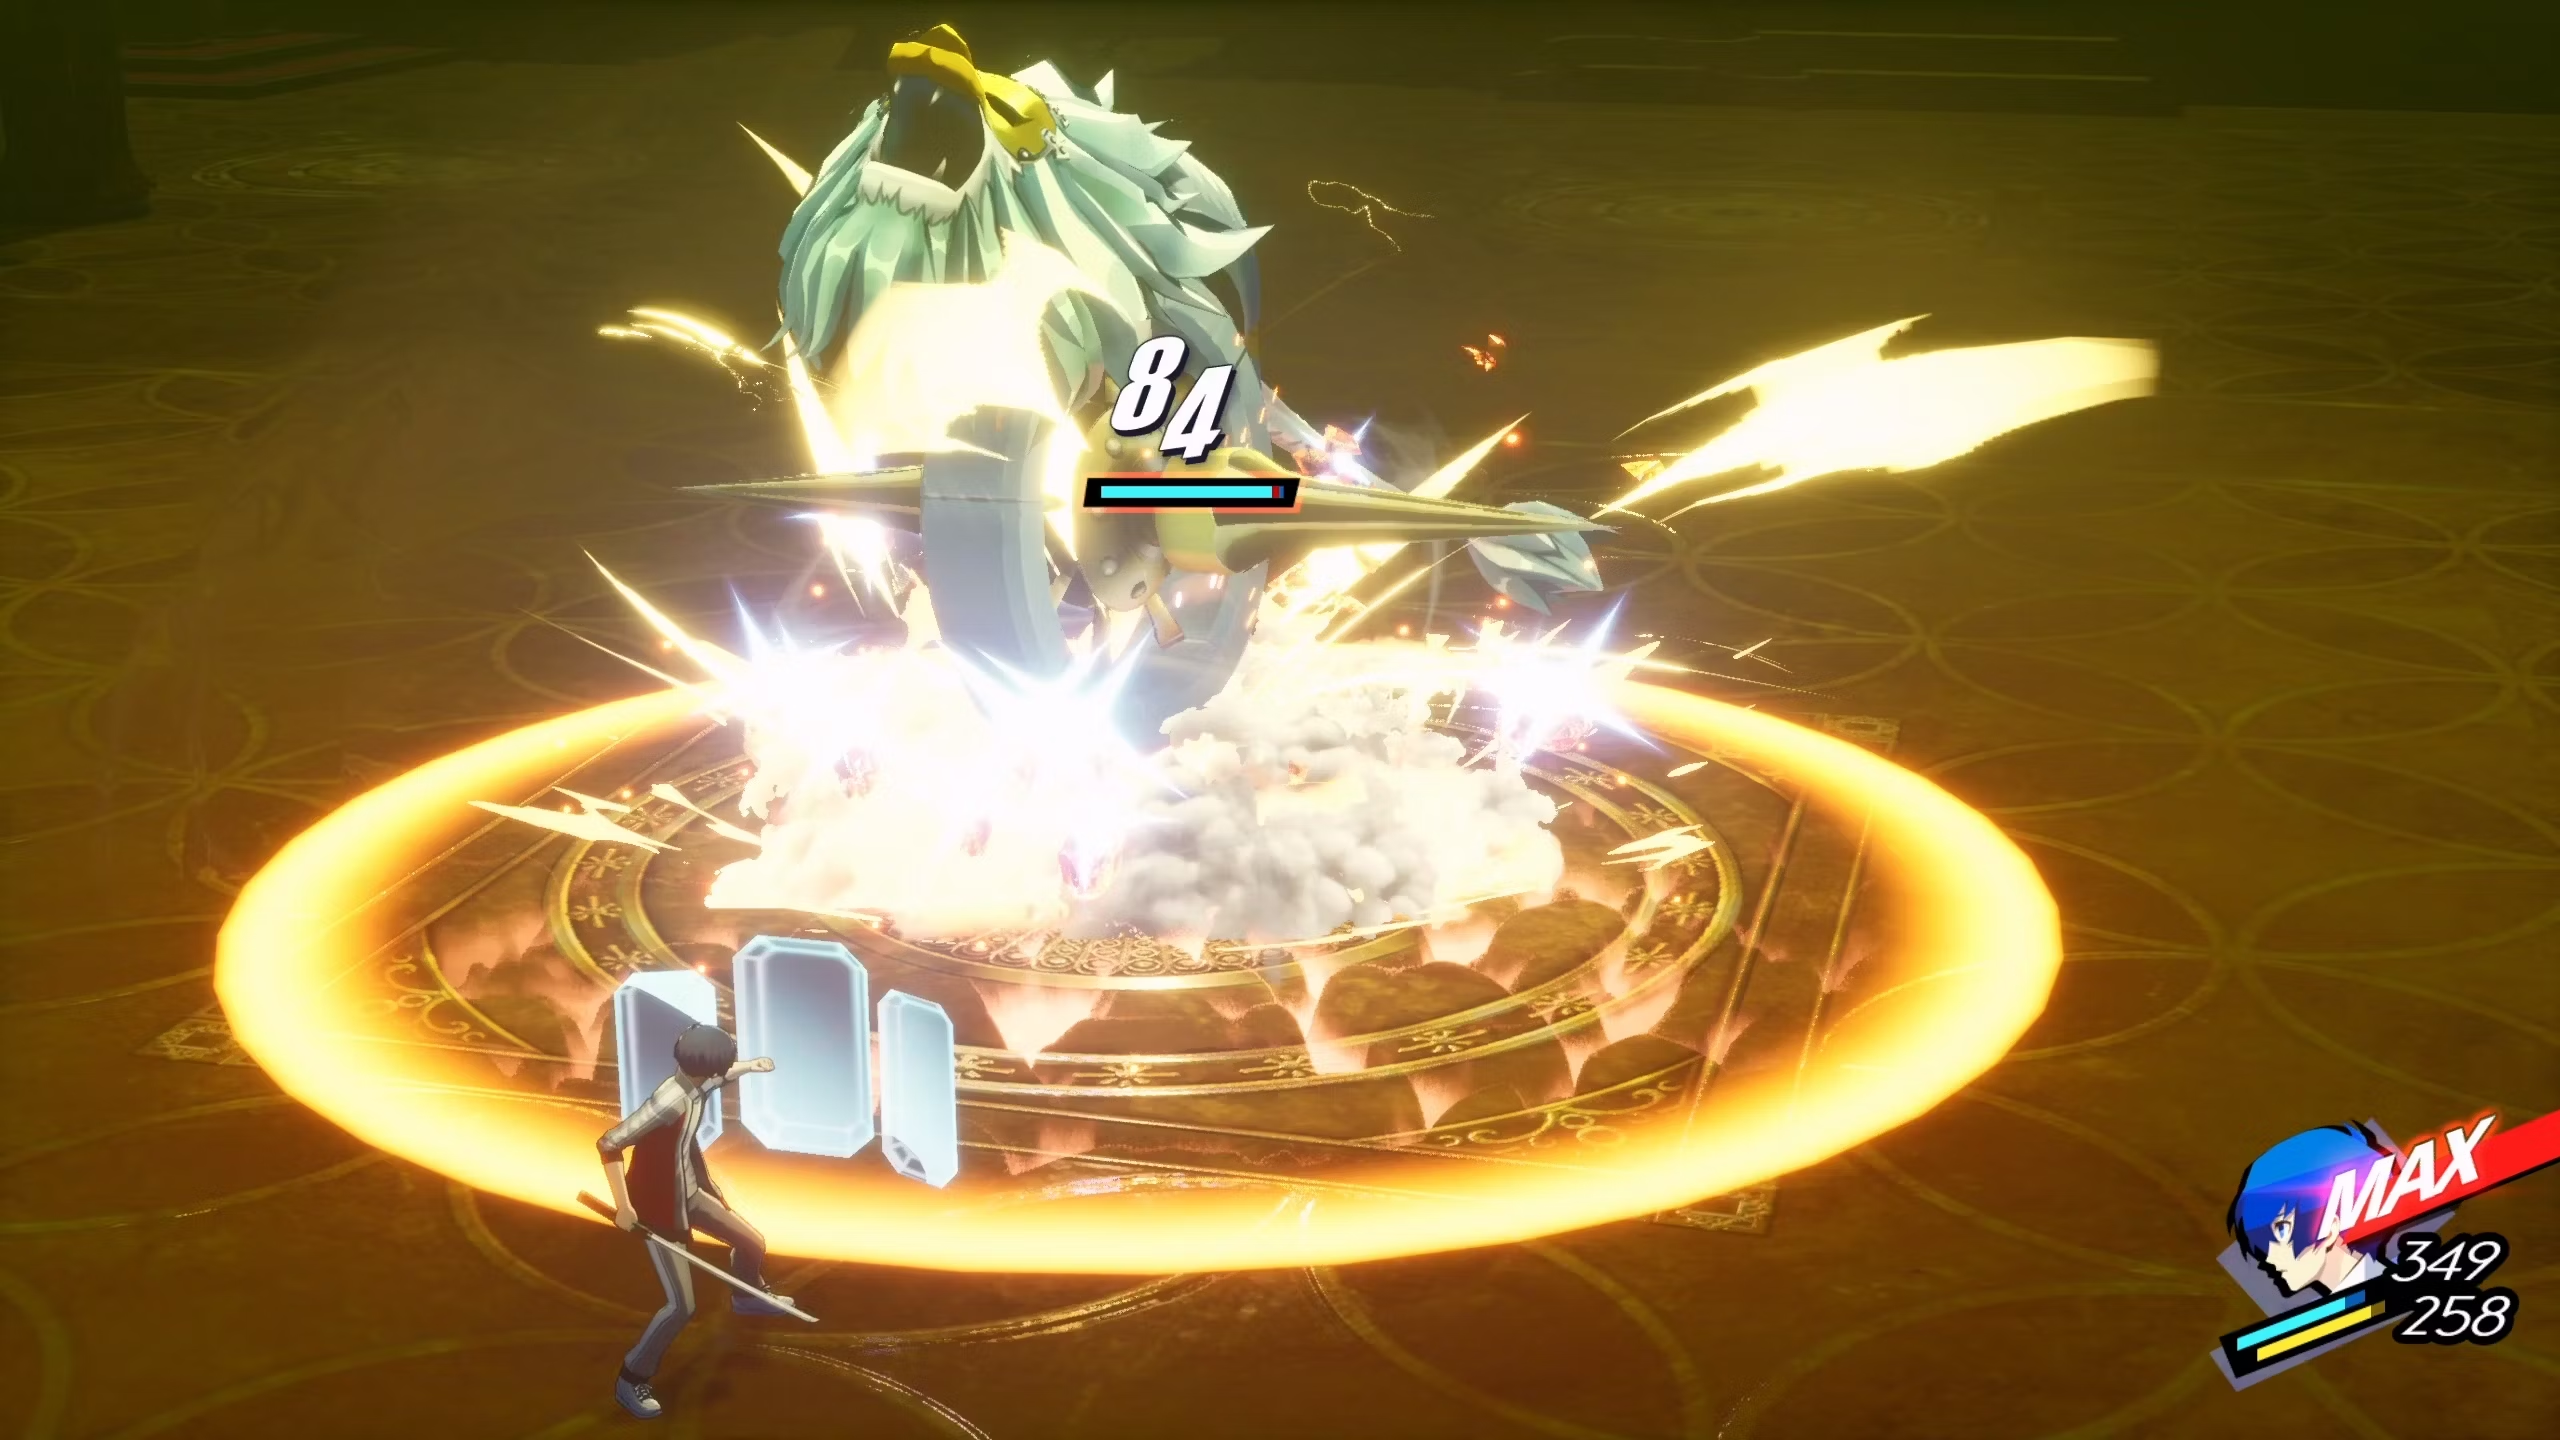
댄싱 비스트 휠은 그 기술 세트로 트럭처럼 강하게 때립니다.
| 친밀도 | 약점 |
|---|---|
| 참격 | 일반 |
| 타격 | 일반 |
| 관통 | 일반 |
| 화염 | 일반 |
| 얼음 | 무효 |
| 전기 | 일반 |
| 바람 | 일반 |
| 빛 | 저항 |
| 어둠 | 일반 |
| 알미 | 일반 |
공격 및 기술
- 히트 라이저: 댄싱 비스트 휠은 3턴 동안 공격력, 방어력, 정확도 및 회피력을 증가시킵니다.
- 테템프 슬래시: 단일 대상 능력으로 여러 번 가벼운 참격 피해를 줍니다.
- 분노의 검: 여러 명을 대상으로 하는 다목적 참격 공격으로 여러 번 공격할 수 있습니다.
- 데스바운드: 치명적인 참격 공격으로 크리티컬 히트 비율이 높습니다.
- 헤라클레스 스트라이크: 팀의 모든 사람들을 공격하는 치명적인 타격 공격입니다.
댄싱 비스트 휠은 약점이 없는 친밀도 차트와 엄청난 높은 공격 스탯을 가진 적입니다. 이 보스에게는 얼음 피해가 영향을 미치지 않으며, 빛 피해에도 저항이 있습니다.
이 보스는 자신을 버프하여 죽을 수 없게 만들고 동시에 팀에 파괴적인 타격을 입히는 능력 풀을 가지고 있습니다. 히트 라이저는 Tarukaja, Sukukaja 및 Rakukaja를 한 번에 결합한 위험한 움직임입니다. 나머지 네 가지 움직임은 참격 또는 타격 유형의 물리 피해 기술입니다.
보스는 신체적인 움직임을 순서대로 지나가지만, 한 번 히트 라이저가 적용되면 그 중 하나는 치명적일 수 있습니다.
댄싱 비스트 휠 전투 가이드
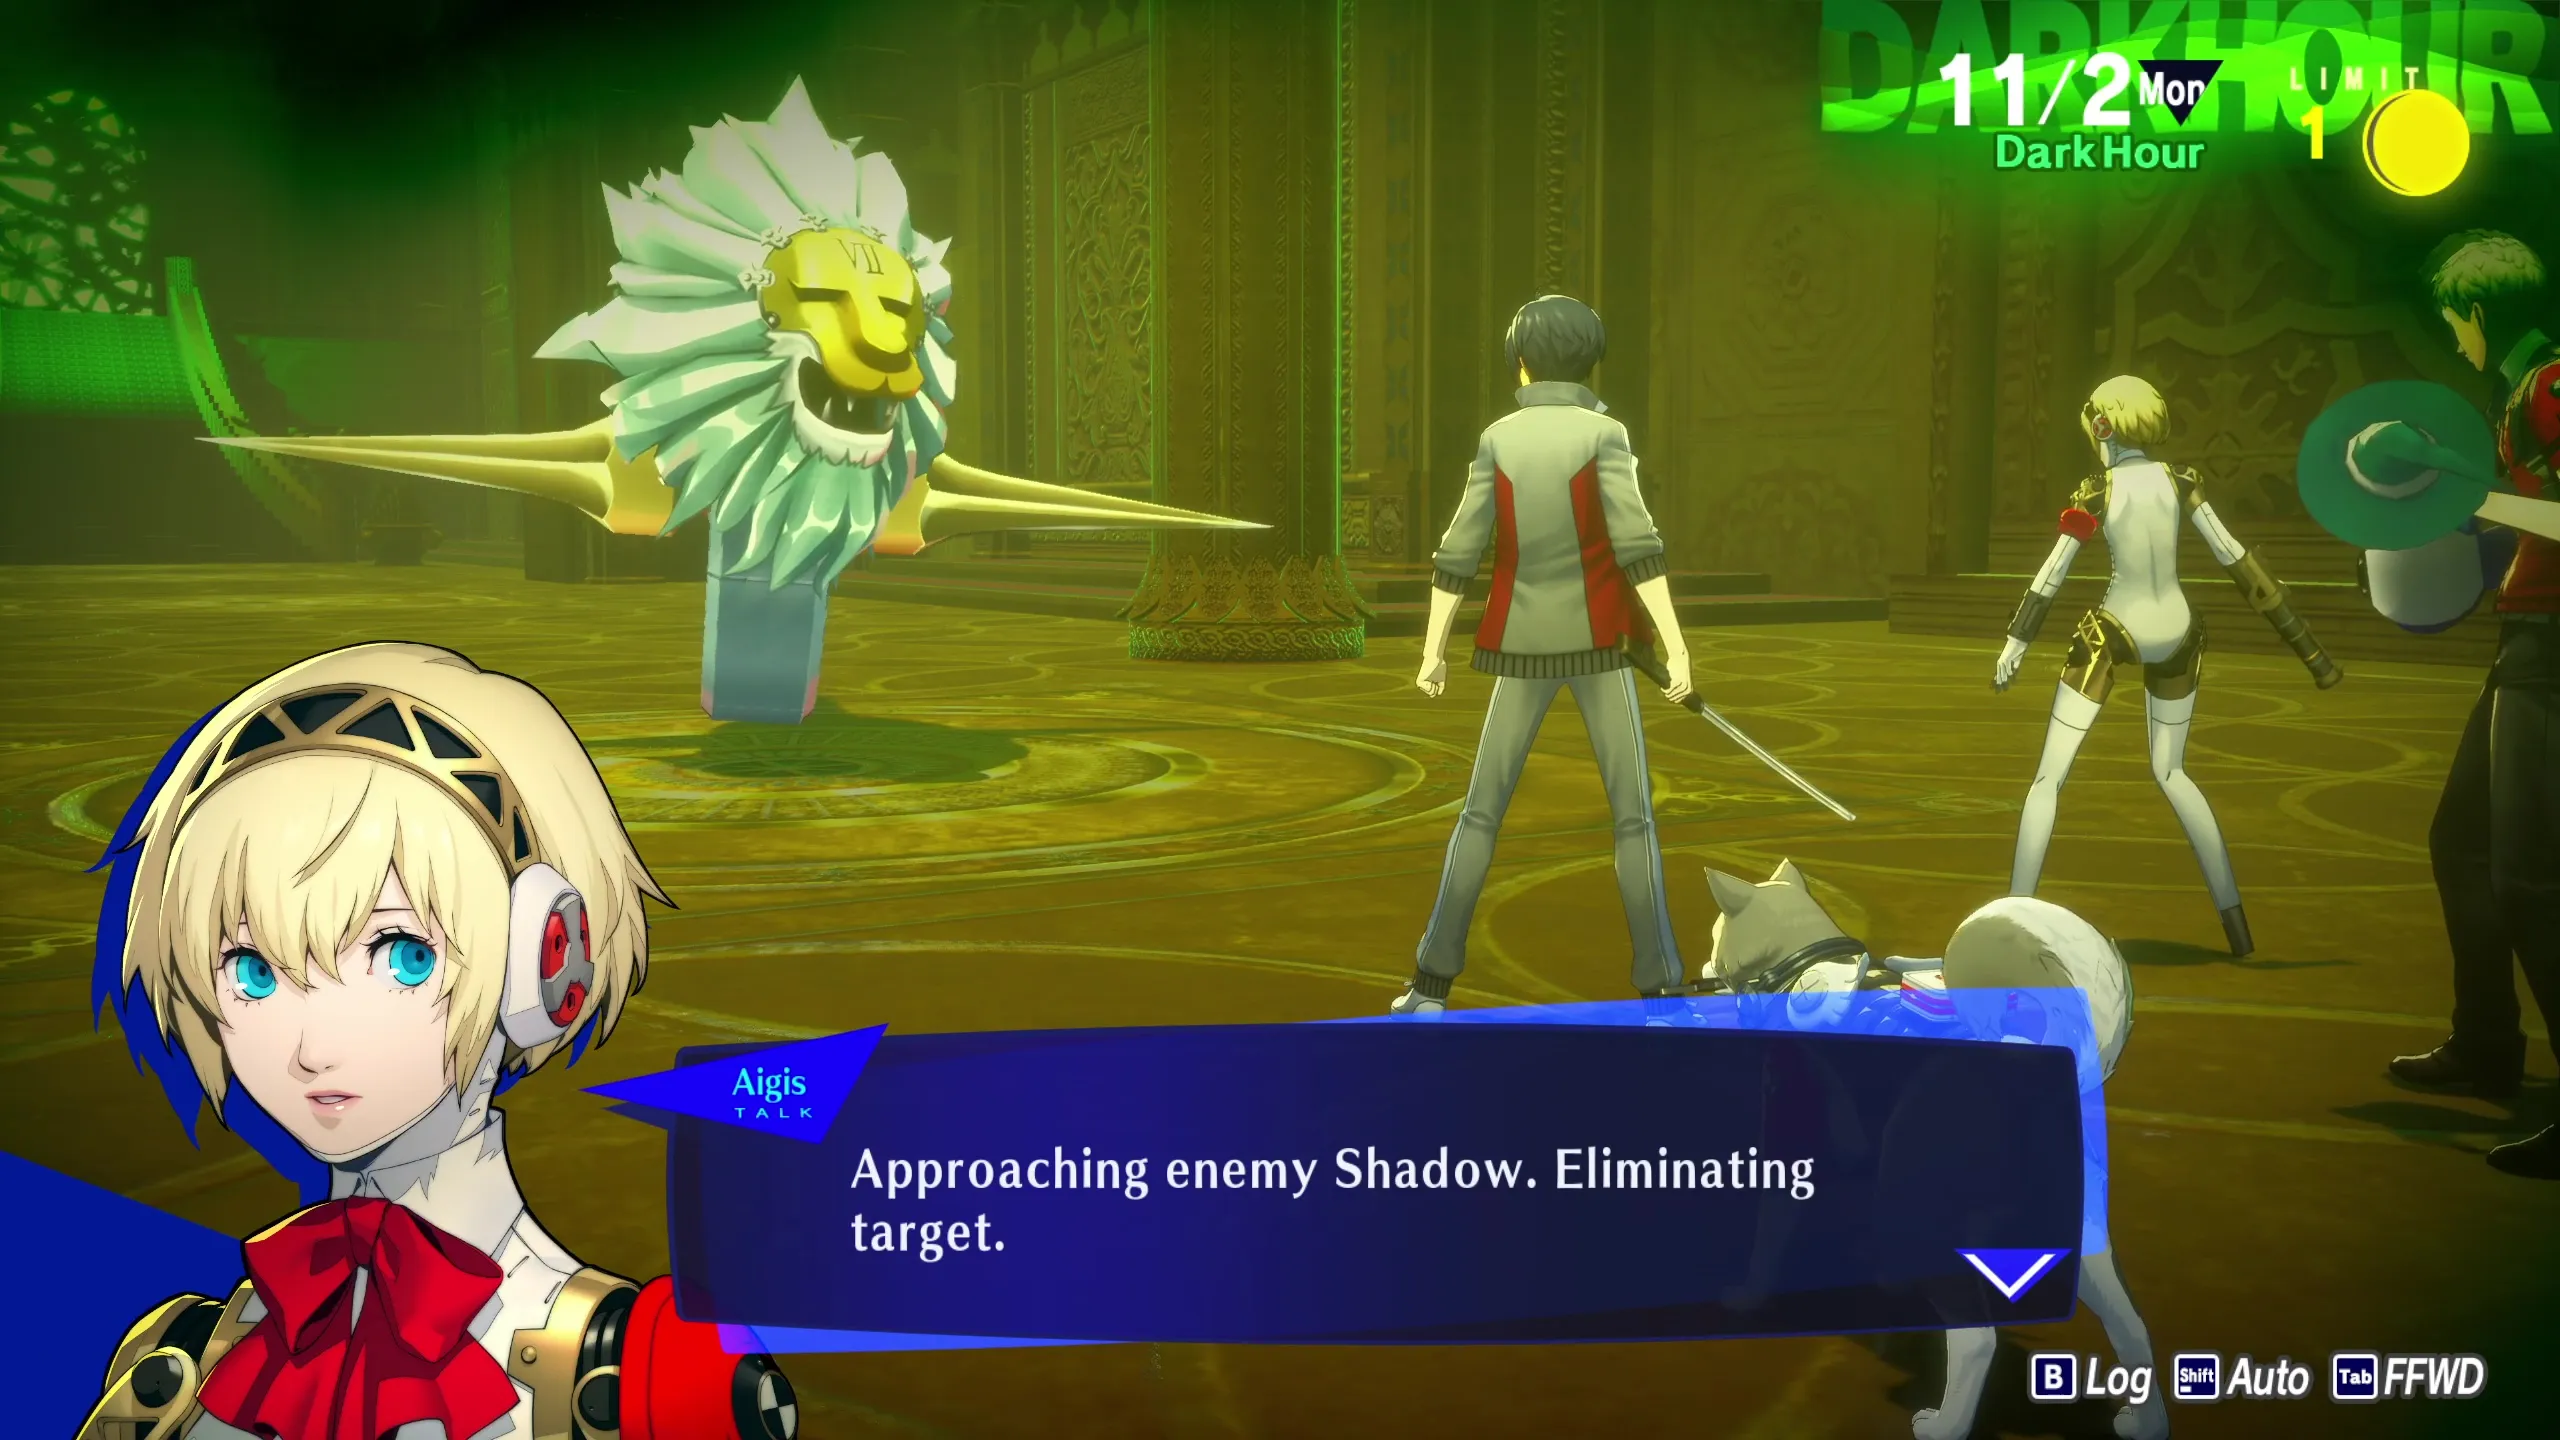
타르타로스 155층의 바닥 수호자인 거대한 댄싱 비스트 휠입니다. 이 전투를 시도할 때는 약 50 레벨 정도가 되는 것이 좋습니다.
약점이 없는 보스와 마찬가지로 전투를 천천히 진행하고 버프와 디버프를 활용해야 합니다. 특히 댄싱 비스트 휠과 싸우는 경우, 히트 라이저 때문에 상시 디버프로 인해 바쁠 것입니다.
“`html
Craft a team where every member can perform two different actions: the ability to buff or debuff and the ability to hit with a strong or multi-hit physical attack. To perform an All-Out attack on this boss, you’ll have to Down it with a lucky crit or with the Jack Brothers Theurgy.
Aigis Fits The Role Perfectly
Aigis has the exact skill set you are looking for when crafting a team for this floor guardian. Her Persona, Palladion, gives her access to both Marakukaja and Matarukaja, allowing you to buff your whole team’s attack and defense.
Aigis also gets Myriad Arrows, Swift Strike, and Arrow Rain, all of which are physical attacks that can hit multiple times, giving her more chances at a critical strike each turn.
At the start of her first turn, use Marakukaja or Matarukaja – whichever your team is lacking. All turns after that should be spent using her physical skills to fish for a crit; the only exception to this is if the fight ends up lasting longer, in which case you can reapply her buffs or use her spot healing with Diarama.
Akihiko’s Versatility Shines
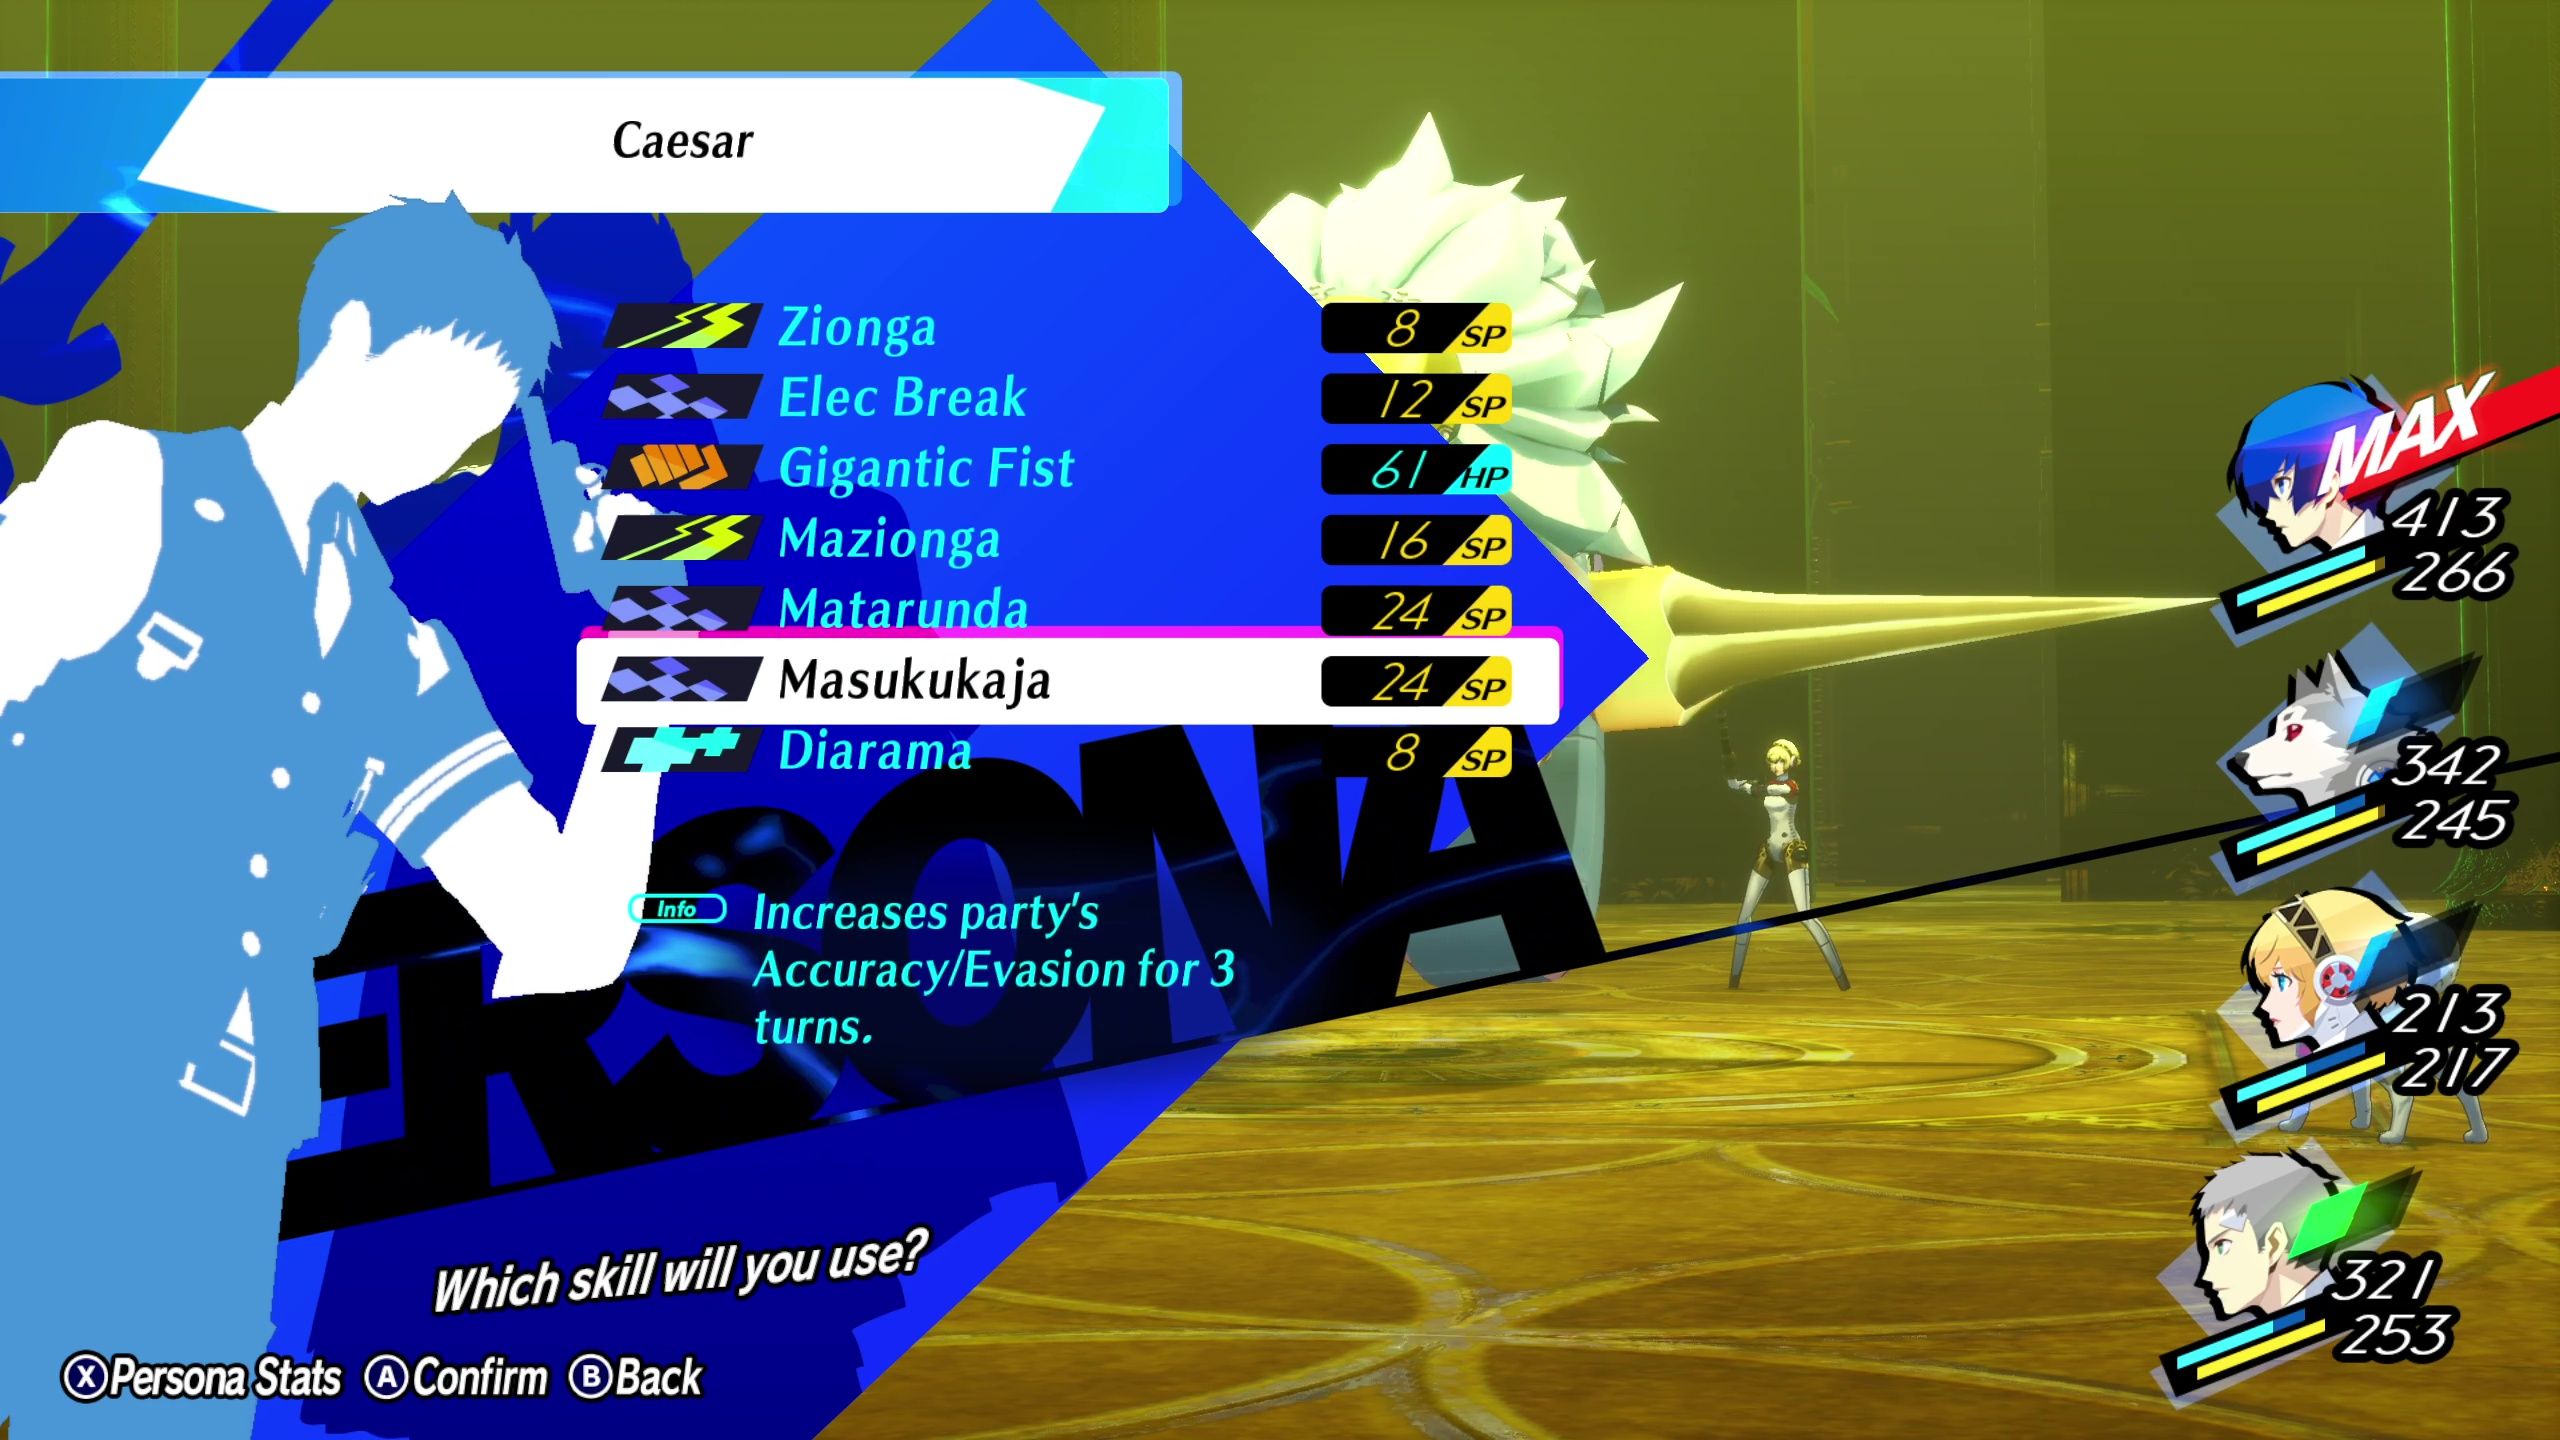
Akihiko is very much like Aigis in that his skills are well-suited for this kind of fight. He has the buff Masukukaja, which boosts your team’s accuracy and evasion, helping them stay alive and counter the boss’s Heat Riser.
His Gigantic Fist is a powerful physical attack that can give you lucky crits. He can also use his passive Shock Boost and Electric skill Zionga to attempt to shock the boss, further disrupting it.
When the fight starts, cast Masukukaja to boost your team’s agility. On subsequent turns, try shocking the boss by using Zionga. If Revolution is active, use Gigantic Fist for the incredibly high critical chance.
Koromaru Increases Critical Hit Rate

The final member of your team should be Koromaru. Koromaru can use Revolution, which will increase everyone’s critical strike chance significantly.
Revolution also increases Dancing Beast Wheel’s critical strike chance. Be careful; this strategy could get your team downed in the first round if you are very unlucky.
Koromaru should start the first turn by using Revolution. Afterward, follow up on each turn with Getsu-ei to try for a critical. The fight should be over before you have to Revolution again, but if the buff falls off, reapply it immediately.
How To Make The Protagonist Immune To All Physical Damage
As mentioned earlier, Dancing Beast Wheel can only use physical attacks, specifically Slash and Strike attacks. With this in mind, there are several great Persona choices that can make the protagonist immune to physical damage.
Before we proceed, here are some Persona recommendations:
- Slime and Legion are Fool Arcana Personas that have resistances to Slash and Strike damage. Slime can be found in the Arqa Block floors 23-69, while Legion can be found in the Yabbashah Block floors 93-118.
- Girimekhala, a Moon Arcana Persona, has the Repel affinity for Slash and Pierce physical damage. You can find Girimekhala throughout both parts of the Tziah Block.
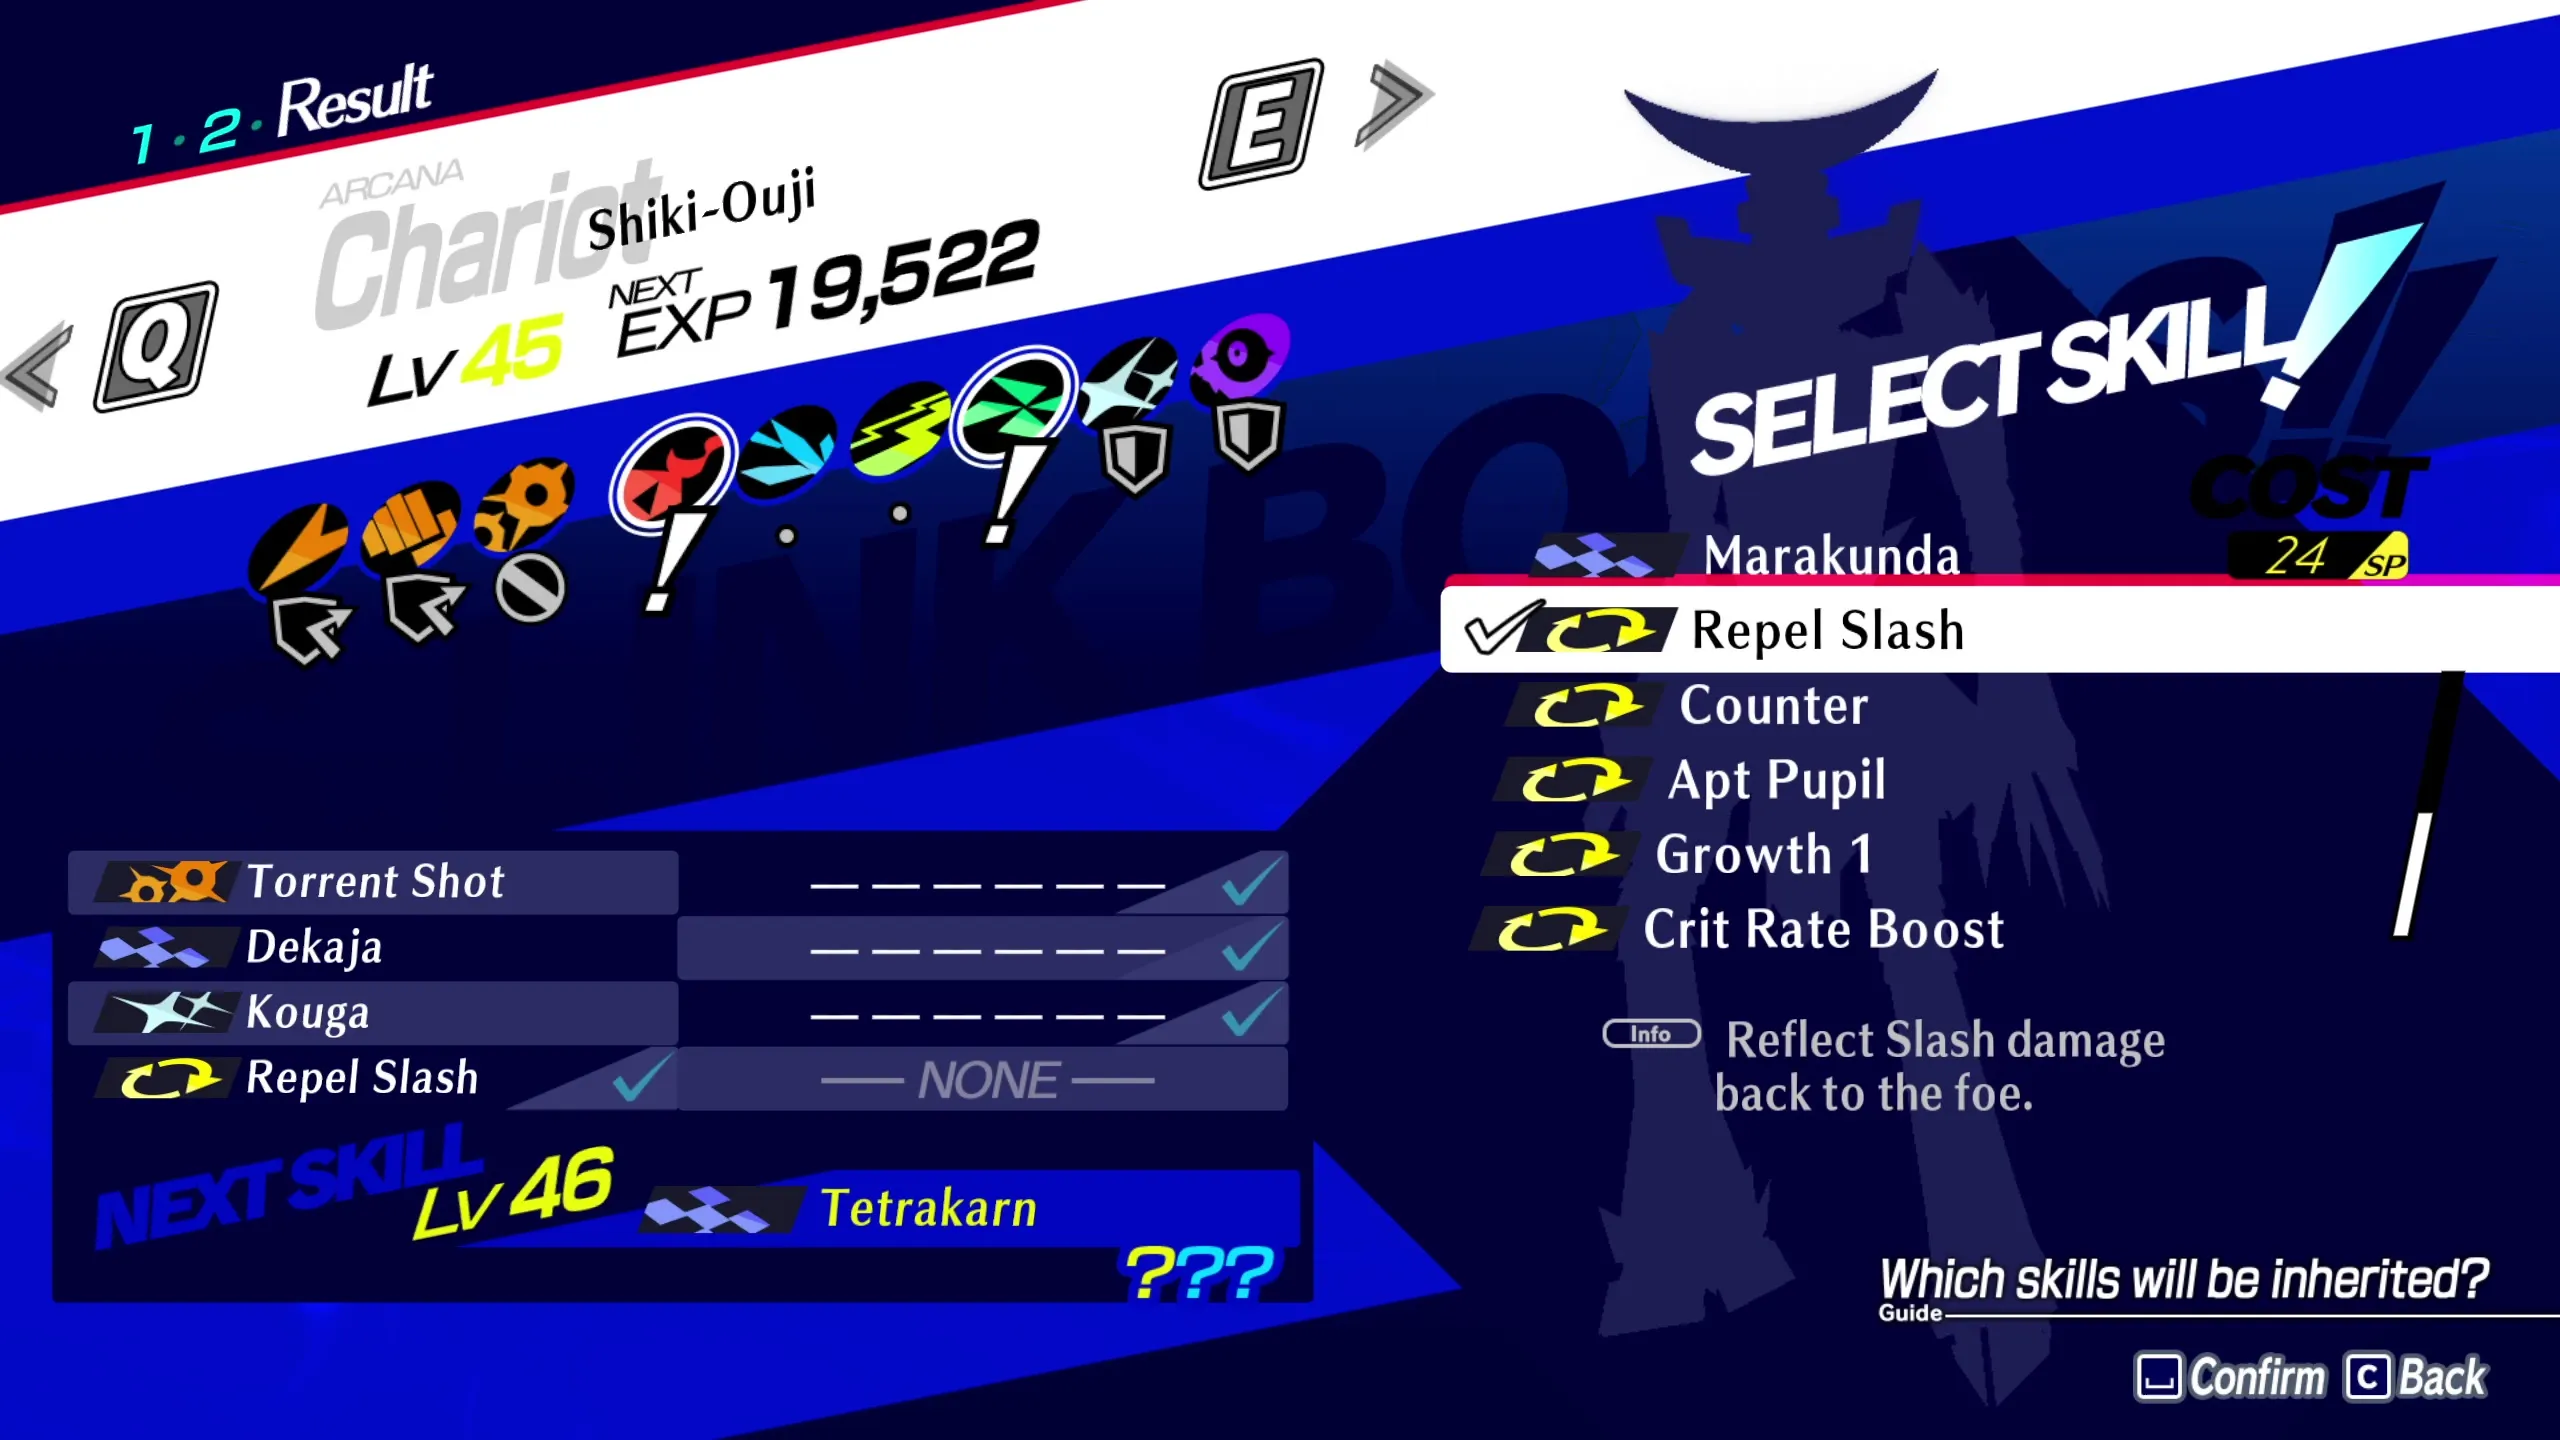
- Shiki-Ouji has the Null affinity for Pierce damage and repels Strike damage. It is an excellent choice because it also has Dekaja. Shiki-Ouji can be found in the second half of the Tziah Block.
“““html
Physical Damage에 면역이 되기
주인공을 신체적 피해로부터 면역시키려면 다음 단계를 따르세요:
- Girimekhala를 획득합니다 (Tziah 블록에서 또는 퓨징하여).
- 레벨을 46으로 올리고, Girimekhala가 패시브 스킬 Repel Slash를 배우는 곳에서 멈춥니다.
- Orthrus 페르소나를 획득합니다 (Yabbashah 블록의 두 번째 부분, 93-117층).
- Orthrus를 레벨 46 Girimekhala와 퓨즈하되, 상속 스킬 중 하나로 Repel Slash를 선택합니다.
이로써 대부분의 신체적 공격에 완전히 면역이 되고 심지어 반사되는 Shiki-Ouji가 만들어집니다.
이 페르소나를 춤추는 야수바퀴 전투 전에 장착하면 주인공에게 아무 해를 입히지 않은 채로 이길 수 있습니다. 매 라운드마다 보스를 때리지 않아도, 결국는 자신의 공격에 의해 자국을 낼 것입니다.
추가 팁과 FAQ
Q: 춤추는 야수바퀴와 대면하기 전에 추천 레벨이 있나요?
A: 춤추는 야수바퀴 전투를 시도할 때 레벨 50 정도인 것이 좋습니다. 이렇게 하면 팀이 이 강력한 보스와 대면할만한 기회를 얻을 수 있습니다.
Q: 슬래시, 스트라이크, 찌르기 피해에 저항이 있는 다른 페르소나가 있나요?
A: 네, Slime, Legion, Girimekhala, Shiki-Ouji 외에도 이러한 유형의 피해에 저항 또는 면역을 가진 다른 페르소나들이 있습니다. 자세한 내용은 이 가이드를 확인하세요.
Q: 전투 중 치료에 대해 걱정해야 하나요?
A: 치료는 항상 중요하지만, 특히 춤추는 야수바퀴와 같은 강력한 보스와 대립할 때에는 버프, 디버프, 그리고 올 아웃 공격에 중점을 두는 것이 중요합니다. 필요에 따라서는 팀 멤버 중 한 명이 만약 필요하다면 이속 치료에 전념해야 하지만, 효율적으로 보스를 처치할 수 있도록 당신의 행동을 우선시하세요.
Q: Aigis, Akihiko, 그리고 Koromaru 대신 다른 팀 멤버를 사용할 수 있나요?
A: 물론입니다! Aigis, Akihiko, 그리고 Koromaru는 이 전투에 부합하는 특정 기술 세트를 가지고 있지만, 팀 멤버와 페르소나의 다양한 조합을 실험하여 가장 잘 맞는 전략을 찾을 수 있습니다. 새로운 전술을 시도하고 다른 방법을 시도하는 데 겁먹지 마세요!
결론
적절한 팀 빌딩, 정확한 전술, 그리고 조금의 행운을 가지고 있다면, Persona 3 Reload에서 춤추는 야수바퀴를 이겨낼 수 있습니다. 높은 공격 스탯을 상대로 대항하고, 치명적인 스킬 모음을 상쇄시키며, 심지어 주인공을 모든 신체 피해로부터 면역시킬 수 있도록 가이드를 따르세요. 따라서 팀을 결성하고 전략을 계획하고, 승리를 거둘 수 있도록 춤추듯 전진하세요!
당신의 성공 이야기와 전략을 #DancingBeastVictory 해시태그를 사용하여 소셜 미디어에 공유하세요. 우리의 승리를 함께 축하합시다!
참고 문헌:
(참고: 원본 이미지는 제공되지 않았습니다. 기사를 게시할 때 관련 이미지를 삽입해 주세요.)
“`